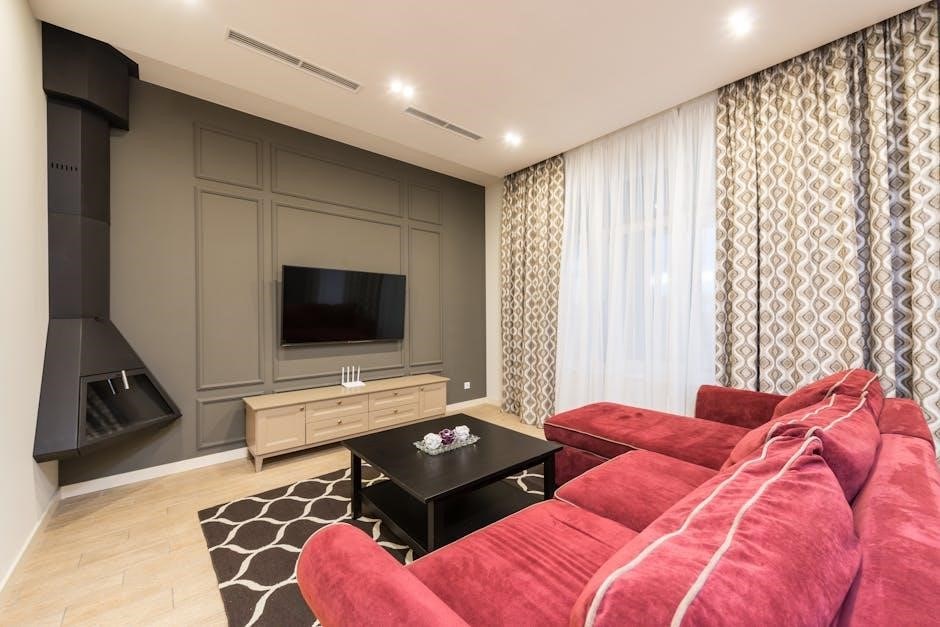
Ashton Lane Fireplace TV Stand Assembly Instructions: A Comprehensive Guide
Welcome! This guide details assembling your Ameriwood Home Ashton Lane TV stand, offering clear steps for a seamless build and safe fireplace enjoyment.
Understanding the Package Contents
Before you begin, carefully unpack all components from the shipping box. The Ashton Lane Fireplace TV Stand arrives in one flat package, so expect a substantial number of parts. Verify you have received all listed items against the parts list included in the instruction manual – don’t discard the manual!
Typically, you’ll find the main console panels (side, top, and base), a back panel, the fireplace insert itself, and all necessary hardware. This hardware includes cam bolts, cam locks, screws of various sizes, and potentially wooden dowels.
Important Note: Customers have reported finding cam bolts and locks loose within the packaging. Immediately check for these and confirm you have the correct quantity. Addressing missing parts early prevents delays later in the assembly process.
Identifying All Parts
Accurate part identification is crucial for a smooth assembly. Refer to the detailed parts list in your instruction booklet. The console consists of several labeled panels: left and right side panels, a top panel, a base frame (often in multiple pieces), and a back panel.
The fireplace insert will be a separate, self-contained unit. Hardware is typically organized in labeled bags. Common hardware includes cam bolts (with a threaded end and a smooth end), cam locks (circular discs with a slot), various wood screws, and potentially wooden dowels for added stability.
Pay close attention to the different screw sizes; using the wrong screw can damage the particleboard. Familiarize yourself with each component before starting the build to avoid confusion during assembly.
Tools Required for Assembly
Successful assembly of your Ashton Lane Fireplace TV Stand requires a few essential tools. A Phillips head screwdriver is absolutely necessary for driving in the wood screws and securing the cam locks. A flathead screwdriver may also be useful for tightening certain hardware.
While not strictly required, a power drill with a clutch setting can significantly speed up the process, but use caution to avoid over-tightening and stripping the screws. A rubber mallet can help gently tap pieces together, especially when using wooden dowels.
A soft cloth or blanket to protect the finish during assembly is highly recommended. Finally, having a second person assist can make handling larger panels much easier and safer.
Step-by-Step Assembly Process
Let’s begin! Follow these instructions carefully, starting with the base frame, then adding side and back panels, and finally, the top panel.
Assembling the Base Frame
Foundation First: The base is the crucial starting point for your Ashton Lane Fireplace TV Stand. Begin by carefully laying out all the base frame components on a protected surface – a carpet or blanket will prevent scratches. Identify the left and right side pieces, as well as the front and rear supports.
Using the provided cam bolts and locks, connect the side pieces to the front and rear supports. Ensure the cam locks are fully engaged to create a sturdy and square frame. Double-check all connections before proceeding; a wobbly base will compromise the entire structure. Refer to the diagrams in the included instruction booklet for precise alignment. This initial step establishes the stability of the entire unit, so take your time and ensure everything is secure.
Attaching the Side Panels
Adding Structure: With the base frame securely assembled, it’s time to attach the side panels. Carefully position one side panel onto the assembled base, aligning the pre-drilled holes. Utilize the appropriate screws – typically provided in a separate, labeled bag – to fasten the panel to the base.
Ensure the screws are tightened firmly, but avoid over-tightening, which could damage the particleboard. Repeat this process for the second side panel, ensuring both panels are flush with the base and aligned correctly. These side panels provide essential structural support and create the enclosure for the fireplace insert. Regularly check for squareness as you work, using a level if necessary, to guarantee a stable and visually appealing final product.
Installing the Back Panel
Securing the Rear: Once the side panels are firmly attached, proceed with installing the back panel. This panel typically slides into grooves along the inside edges of the base and side panels, or is secured with small nails or screws. Carefully align the back panel, ensuring it sits flush within the designated space.
If using nails, gently hammer them in, spacing them evenly along the edges. If screws are provided, use a screwdriver to fasten the panel securely. The back panel adds significant stability to the entire unit, preventing wobbling and ensuring a solid structure. Confirm the panel is properly seated before moving on to the next assembly step, as it’s crucial for overall structural integrity.
Securing the Top Panel
Completing the Structure: With the base, sides, and back panel assembled, it’s time to attach the top panel. Carefully position the top panel onto the assembled frame, ensuring it aligns perfectly with all edges. Locate the pre-drilled holes or designated mounting points.
Typically, this involves using screws to secure the top panel to the side panels and potentially the back panel. Use a screwdriver to tighten the screws firmly, but avoid over-tightening, which could damage the wood. Double-check that the top panel is level and securely fastened on all sides. This step completes the main structural assembly of the TV stand, providing a stable surface for your television and fireplace insert.
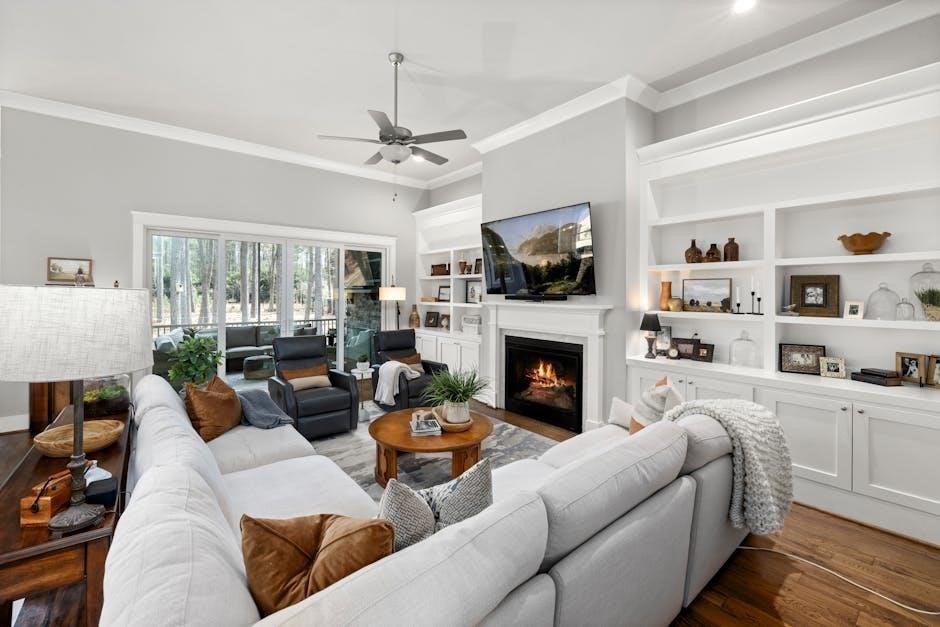
Fireplace Insert Installation
Warmth and Style: Now, integrate the electric fireplace! This section guides you through safely connecting and securing the fireplace within the TV console.
Connecting the Fireplace to the Console
Secure Installation: Carefully slide the fireplace insert into the designated opening within the assembled TV console. Ensure it aligns properly with the pre-drilled holes located on the inner sides of the console’s fireplace compartment.
Fastening the Insert: Using the provided screws – typically four in number – securely fasten the fireplace insert to the console. Tighten each screw gradually and evenly to avoid any strain or damage to the console’s structure or the fireplace unit itself. Do not overtighten, as this could strip the screw holes.
Final Check: Once all screws are in place, gently test the fireplace insert’s stability. It should be firmly secured and not wobble or shift within the console. A snug fit is crucial for safe and reliable operation.
Wiring and Electrical Connections
Power Cord Access: Locate the power cord extending from the fireplace insert. Carefully guide it through the designated cable management opening at the rear of the TV console. This prevents pinching and ensures a clean appearance.
Connecting to Power: Plug the fireplace’s power cord into a standard grounded electrical outlet. Do not use extension cords or adapters, as they may not be rated for the fireplace’s power requirements and could pose a safety hazard.
Safety First: Before connecting, verify the outlet’s voltage matches the fireplace’s specifications (typically 120V). Ensure the power switch on the fireplace is in the “off” position before plugging it in. Inspect the cord for any damage before use.
Testing the Fireplace Functionality
Initial Power-Up: After ensuring proper wiring, switch the fireplace on using the power button located on the unit or remote control. Observe the heating elements and flame effect to confirm they are functioning correctly.
Heat Settings: Cycle through the available heat settings (typically low and high) to verify both operate as expected. Note the fan should engage when heat is activated, distributing warmth effectively.
Flame Effect Adjustment: Test the flame effect brightness settings. Ensure you can adjust the flame intensity to your preference. Confirm the auto-shutoff and overheat protection features are working by observing their activation under simulated conditions (avoid prolonged testing).
Addressing Common Assembly Issues
Troubleshooting: Encountering missing parts or damage is possible; this section provides solutions for cam bolt shortages, scratches, dents, and electrical concerns.
Missing Cam Bolts and Hardware
Dealing with Shortages: A frequent issue reported by customers is the arrival of packages with missing cam bolts and loose hardware. These small, crucial components often become detached during shipping, ending up loose within the box instead of securely packaged. If you discover you are short on cam bolts – typically three is the reported deficiency – immediately contact Ameriwood Home customer support.
Do not attempt to substitute different hardware, as this could compromise the structural integrity of the TV stand. Clearly document the missing parts when contacting support, and be prepared to provide your order number and the specific part name. Ameriwood generally provides replacement hardware promptly, ensuring you can complete the assembly without significant delay. Prior to contacting support, double-check all packaging materials!
Dealing with Damaged Parts (Scratches & Dents)
Addressing Cosmetic Imperfections: Unfortunately, some customers have reported receiving the Ashton Lane TV stand with minor cosmetic damage, such as scratches and dents, particularly on the top panel. While these imperfections typically don’t affect the functionality of the unit, they can be frustrating. Before beginning assembly, carefully inspect all components for any visible damage.
Document any issues with photographs and contact Ameriwood Home customer service. They may offer replacement parts or a partial refund to compensate for the damage. Depending on the severity, you might be able to conceal minor scratches with furniture touch-up markers. However, for significant dents, a replacement panel is the recommended solution to maintain the aesthetic appeal of your new TV stand.
Troubleshooting Electrical Issues
Addressing Fireplace Functionality: If your fireplace isn’t powering on, first verify the unit is properly plugged into a working electrical outlet. Check the circuit breaker to ensure it hasn’t tripped. The Ashton Lane fireplace features overheat protection and an auto shutoff function; confirm these haven’t been activated.
Inspect the wiring connections between the fireplace insert and the console, ensuring they are secure. If the issue persists, consult the instruction manual for specific troubleshooting steps related to the fireplace’s control panel. Caution: Do not attempt to repair electrical components yourself; contact a qualified electrician for assistance to avoid potential hazards.
Safety Precautions During Assembly
Important! Two-person assembly is highly recommended for safe and efficient building. Always prioritize caution and follow instructions carefully during the process.
Two-Person Assembly Recommendation
We strongly advise assembling the Ashton Lane Fireplace TV Stand with two adults. Several components, like the side and top panels, are large and somewhat heavy, making maneuvering difficult and potentially unsafe for a single person. Having a partner ensures stability during attachment and reduces the risk of dropping parts or causing damage to the unit or your surroundings.
Furthermore, coordinating the alignment of panels and securing hardware is significantly easier with an extra set of hands. This collaborative approach minimizes frustration and ensures a more accurate and secure build. Attempting assembly alone could lead to stripped screws, misaligned parts, or even personal injury. Prioritize safety and efficiency – enlist a helper!
Overheat Protection and Auto Shutoff Features
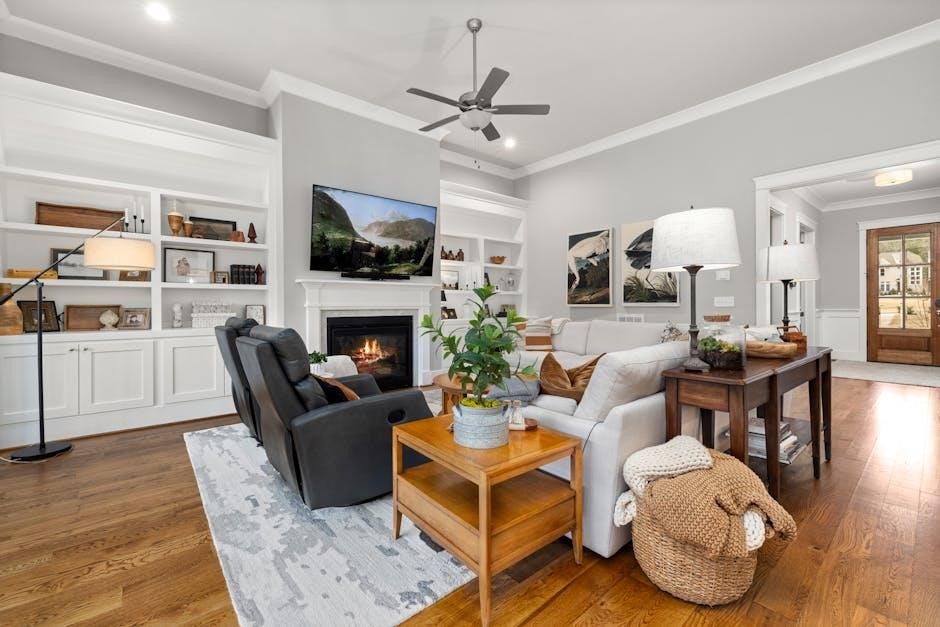
Your Ashton Lane Fireplace TV Stand is equipped with crucial safety features. The integrated fireplace boasts both overheat protection and an automatic shutoff function, designed to provide peace of mind during operation. The overheat protection system continuously monitors the internal temperature, preventing the unit from reaching dangerous levels.
Should the fireplace overheat, it will automatically shut down, eliminating a potential fire hazard. Additionally, the auto shutoff feature will activate after a pre-set period, preventing prolonged operation without supervision. These features, coupled with the cool-touch tempered glass front, significantly enhance the safety of your new TV stand and fireplace combination, ensuring worry-free enjoyment.
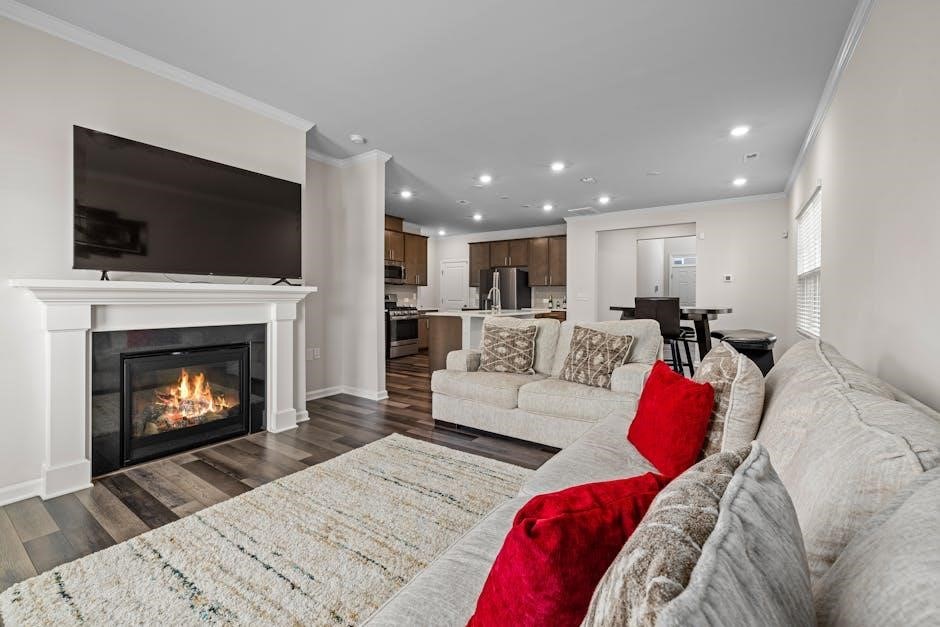
Cool Touch Tempered Glass Front Safety
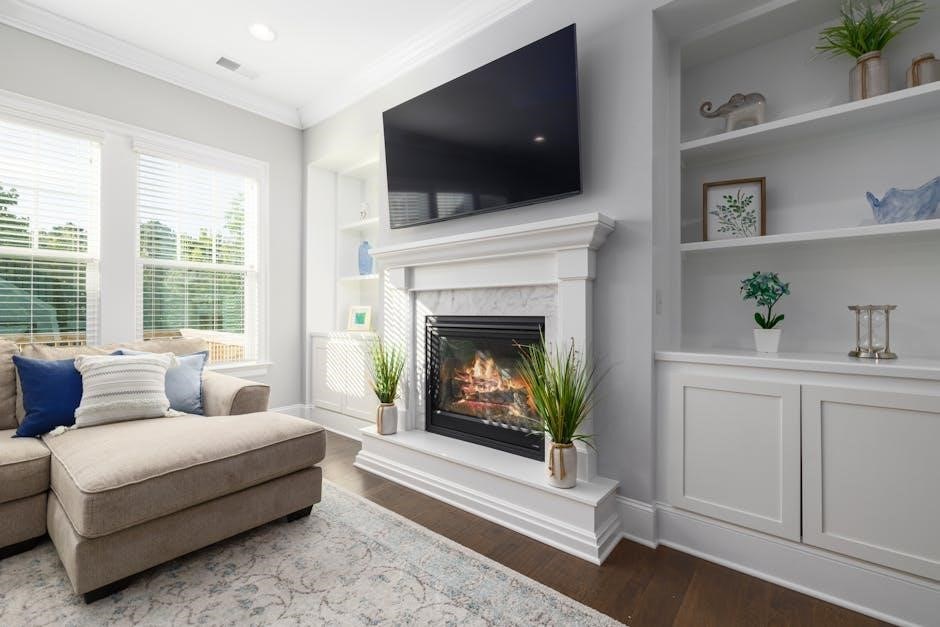
A key safety element of the Ashton Lane Fireplace TV Stand is its cool-touch tempered glass front. This design feature minimizes the risk of burns, particularly important in households with children or pets. Unlike traditional fireplaces that can become extremely hot to the touch, the tempered glass remains relatively cool even during operation.
The tempered glass is significantly stronger than standard glass, offering increased durability and resistance to impact. This robust construction provides an extra layer of protection, reducing the likelihood of breakage. Enjoy the visual appeal of the flickering flames without the worry of accidental contact with a scorching surface – a thoughtful safety consideration built into your new furniture piece.
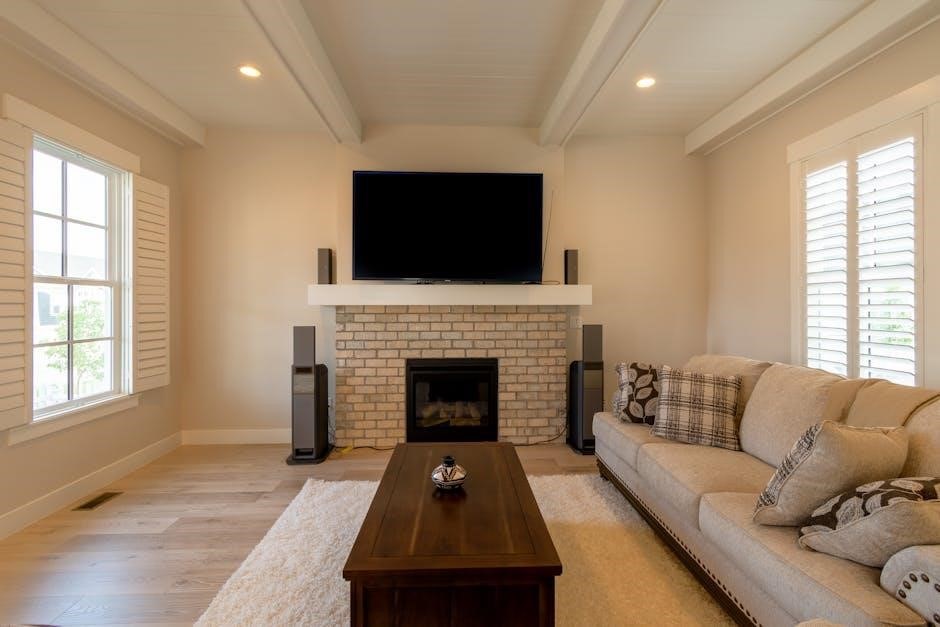
TV Compatibility and Placement
Designed for modern living, the Ashton Lane stand accommodates TVs up to 80 inches, blending style and functionality for optimal viewing pleasure.
Accommodating TVs Up to 80 Inches
The Ameriwood Home Ashton Lane Fireplace TV Stand is engineered to provide a secure and stylish platform for televisions ranging in size up to a generous 80 inches. Before beginning assembly, carefully measure your television’s dimensions to ensure compatibility with the stand’s specifications. This spacious capacity allows for a comfortable viewing experience, even with larger screen sizes.
However, remember that weight capacity is also a crucial factor. While the stand can physically accommodate an 80-inch TV, always verify that the television’s weight falls within the stand’s maximum weight limit, as exceeding this limit could compromise stability and safety. Proper weight distribution is key to a secure setup. Consider the overall aesthetic and ensure the TV size complements the stand and your living space.
Optimal Viewing Distance and Height
Achieving the best viewing experience with your new Ashton Lane Fireplace TV Stand involves considering both distance and height. A general guideline suggests a viewing distance of 1.5 to 2.5 times the diagonal screen size. For example, a 65-inch TV ideally requires a viewing distance of 97.5 to 162.5 inches.
Regarding height, the center of the screen should be at eye level when seated. The Ashton Lane stand’s 31.125-inch height is a good starting point, but adjust your seating accordingly. Ensure there’s no glare from windows or lights impacting visibility. Proper placement minimizes eye strain and maximizes immersion. Experiment with slight adjustments to find the most comfortable and visually appealing setup for your living space and personal preferences.
Post-Assembly Care and Maintenance
Maintaining the beauty of your Ashton Lane Fireplace TV Stand is simple with regular care. Dust frequently with a soft, dry cloth to prevent buildup. Avoid harsh chemicals or abrasive cleaners, as they can damage the Black Oak finish. For stubborn marks, a slightly damp cloth may be used, followed by immediate drying.
Periodically check all screws and connections to ensure they remain tight. Inspect the tempered glass front for any cracks or damage. Clean the fireplace insert screen with a glass cleaner specifically designed for electronics. Proper care extends the life and appearance of your TV stand, ensuring years of enjoyment. Remember to unplug the unit before cleaning electrical components.